

Water Transfer Printing for Beginners: A Complete Guide to Hydrographics
What Is Water Transfer Printing?
Water Transfer Printing—also known as Hydrographics or Immersion Printing—is a process that applies decorative patterns to 3D objects. This technique enables manufacturers to create products with visually striking or realistic finishes, from carbon fiber textures to wood grain and camouflage. As long as the base material can be submerged in water, it can likely be hydro dipped. Learn more about materials for hydro dipping that are suitable for this technique.
What Is Hydro Dipping Film Used For?
Now that you understand the basic concept of Water Transfer Printing, let’s take a closer look at the core material behind the process—the hydro dipping film.
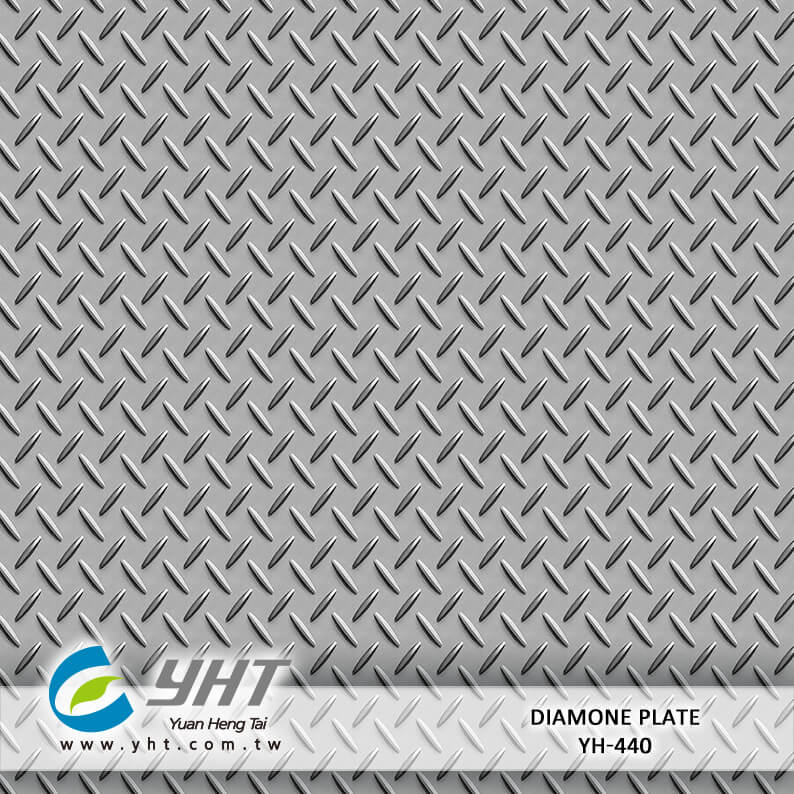
Water Transfer Printing Film, often called Hydrographic Film or Hydro Dipping Film, is the medium used to transfer patterns onto 3D surfaces. These films are printed with specialized inks on a water-soluble polyvinyl alcohol (PVA) base. Once floated on water and sprayed with a hydro dipping activator, the backing dissolves—leaving just the ink, which wraps around the object during dipping.
Common pattern types include:
-
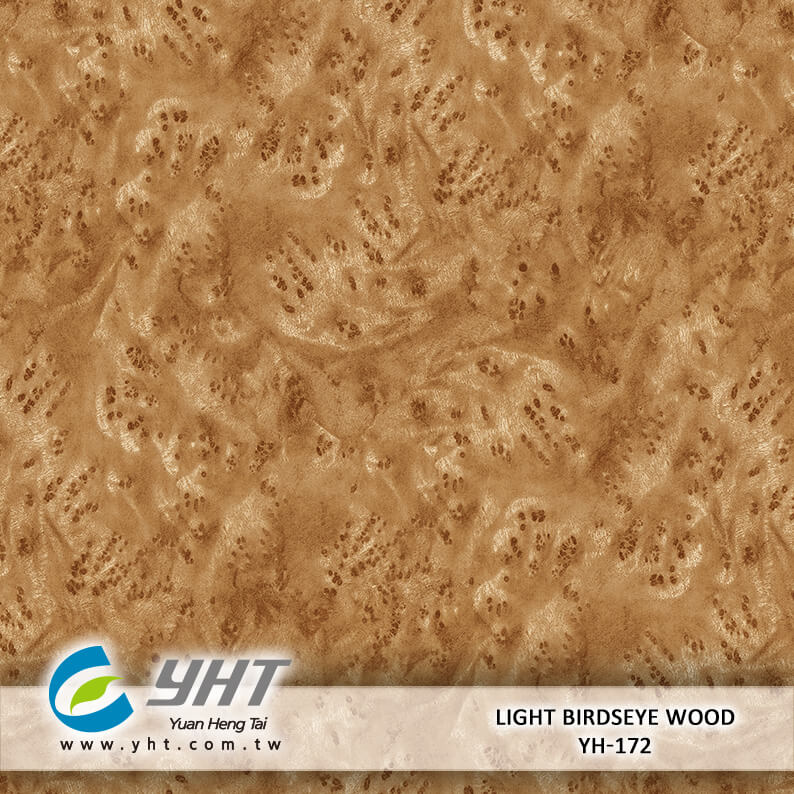
Wood Grain

-
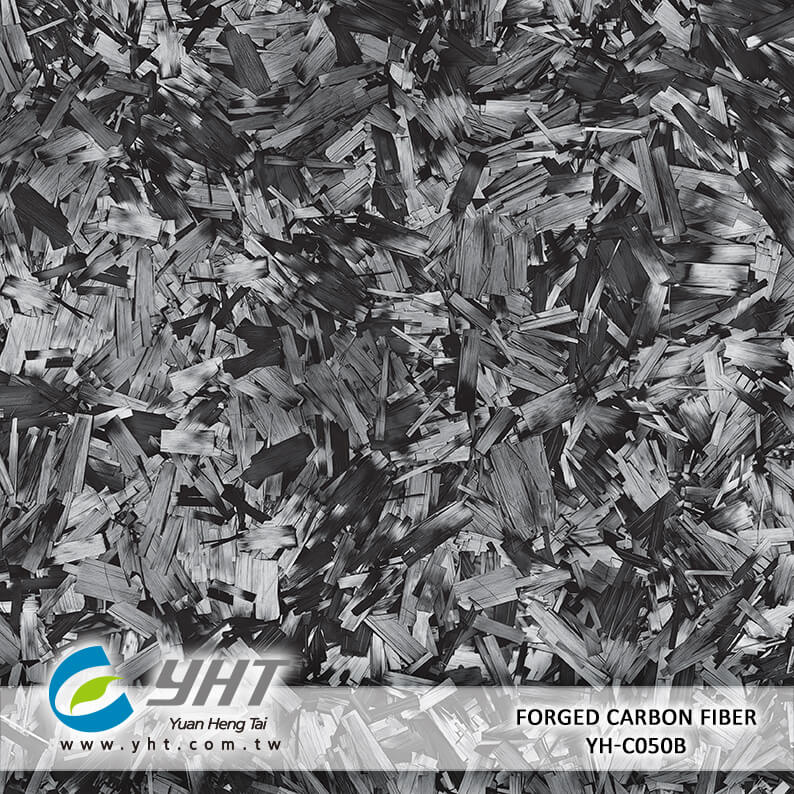
Carbon Fiber

-
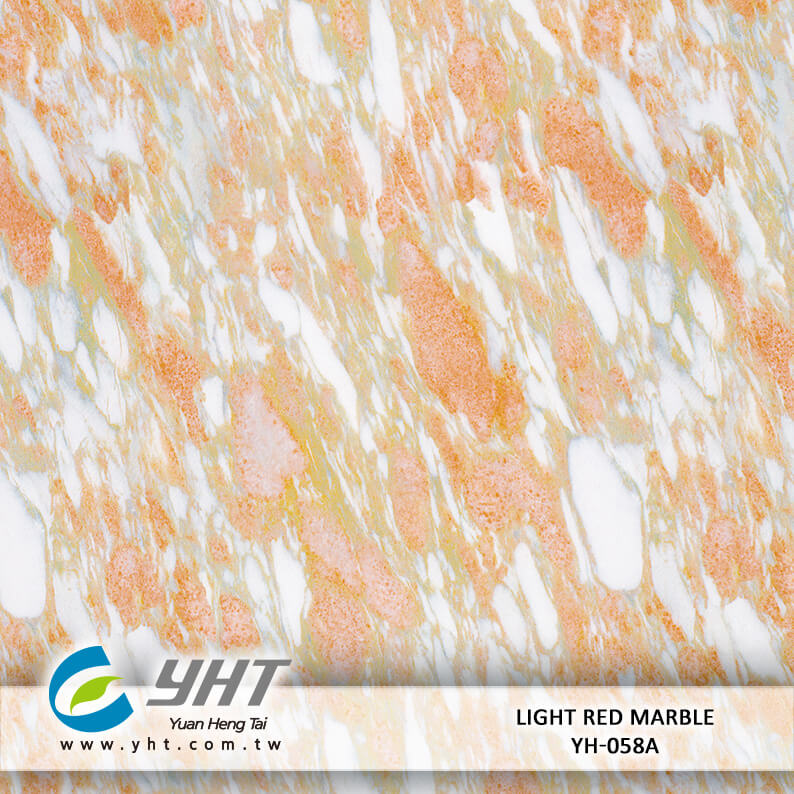
Marble

-
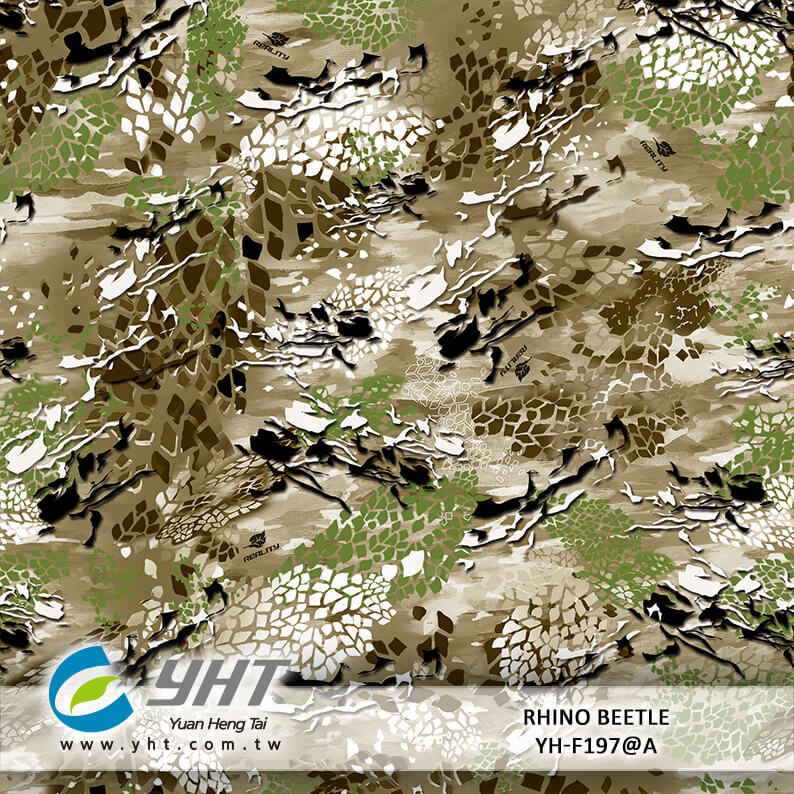
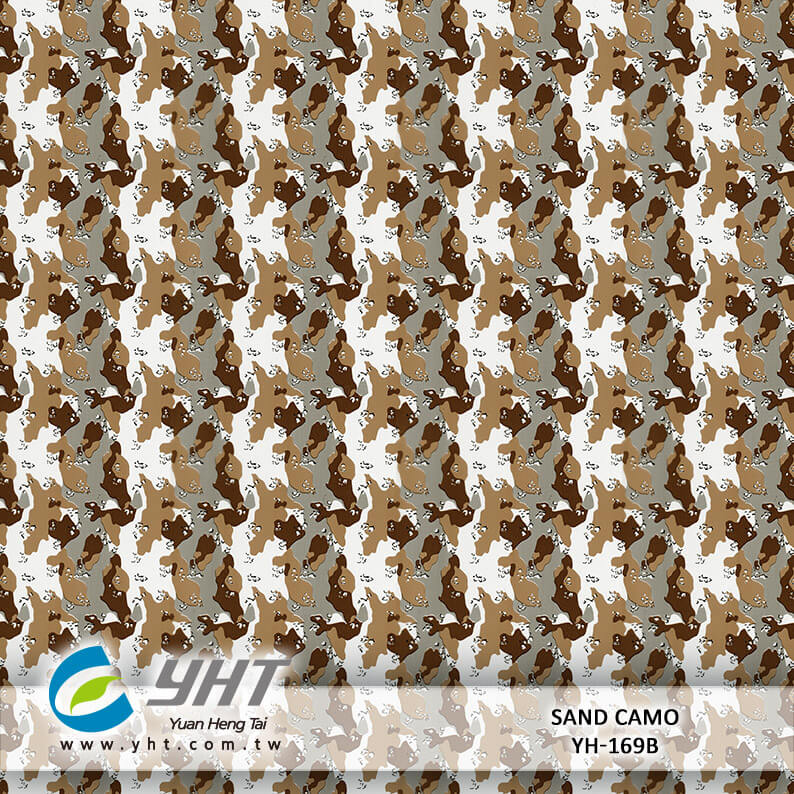
Camouflage (a common pattern for hydro dipping guns and outdoor gear)

Read Also : Tips for Selecting the Right Hydro Dipping Film: Factors to Consider for Your Project
Industries and Applications
With a wide range of available patterns and impressive surface adaptability, hydro dipping films are used in various industries and products.
Water Transfer Printing is widely used across a range of industries, including:
- Automotive: Interior trims, dashboards, engine covers
- Aerospace: Aircraft cabin components
- Consumer Goods: Light switch covers, remote controls, eyewear
- Outdoor Gear: Rifles, crossbows, ATVs, helmets, goggles
- Home Décor: Flower pots, lamp bases, furniture accents
Looking for inspiration? Explore creative Hydro Dipping Ideas for Home Décor and Lifestyle
How Does Water Transfer Printing Work?
Curious how these stunning finishes are actually applied? Let’s break down the step-by-step process of Water Transfer Printing.
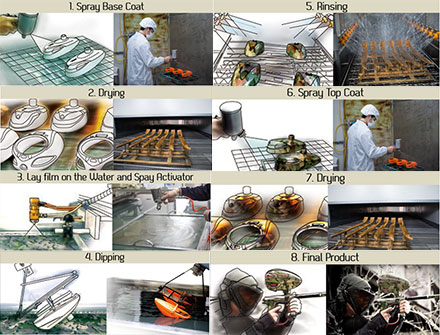
Water Transfer Printing involves a few essential steps, including painting, film activation, dipping, and finishing. With the right tools and materials, you can start creating stunning effects on a variety of surfaces.
Step 1: Apply the Base Coat
Begin by spraying a base coat onto the object. The base color influences the final effect—wood grain films often pair well with beige or tan, while carbon fiber looks best over black or silver. Make sure the base paint is compatible with the material.

Step 2: Dry the Surface
Let the base coat dry completely. Depending on your production setup, you can air dry or use an oven. A clean, smooth surface is crucial for best results.

Step 3: Place the Film and Apply Activator
Cut the hydro dipping film to size and place it gently on the water’s surface, printed side facing down. Wait about 60–70 seconds for the film to hydrate. Then, spray a hydro dipping activator evenly to dissolve the film’s backing and activate the ink.

Step 4: Dip the Object
Slowly and steadily dip the object into the activated film at a consistent angle. The floating ink wraps around the surface and transfers the pattern seamlessly. Proper dipping technique avoids air bubbles and distortion.

Step 5: Rinse
After dipping, rinse the item with clean water to remove any residual film. A gentle spray reveals the full pattern underneath without damaging the new print.

Step 6: Apply the Top Coat
Once dry, apply a clear top coat to protect the finish from scratches, UV damage, and wear. Choose from matte, gloss, or semi-gloss to match your design preference.

Let the top coat cure completely—either via air drying or a curing oven. Once dry, your hydro dipped part is ready for use or assembly.

Must-Have Equipment for Water Transfer Printing
To carry out the water transfer process successfully, you'll need some essential equipment—whether you’re dipping manually or operating at full production scale.
Your setup may include:
-
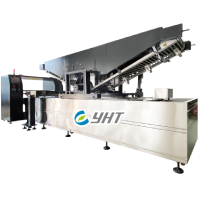
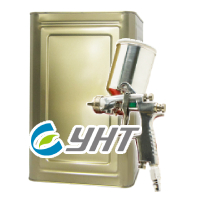
Painting Line / Spray Booth
– For even base and top coat application

-
Drying Oven or Chamber
– Speeds up paint and coating curing

-
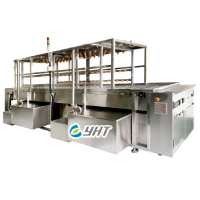
Hydrographic Dipping Tank
– Holds water for film activation and dipping

-
Water Washing Station
– Rinses off excess residue after dipping

Not sure if automation is needed? Learn when small-scale production is ideal for hydro dipping.
Read Also : 5 Tips for Choosing A Hydrographic Film Supplier
Custom Hydrographic Films
Beyond standard designs, many brands are now turning to custom hydro dipping films to express unique identities and gain a competitive edge.
YHT offers custom hydrographic film solutions, including:
- Design verification & pattern development
- Pantone color matching
- High-resolution printing
- Sampling and bulk production
- NDA protection and copyright safeguards
- Global shipping for OEM or branded use
Explore our popular patterns:
-
Wood Grain


-
Carbon Fiber


-
Camouflage


Learn More: Custom Hydrographic Film Services
Start Your Hydro Dipping Business with YHT
In addition to high-quality films, YHT provides full support for brands and OEMs ready to enter the hydro dipping market. YHT is a trusted ISO- and SGS-certified manufacturer of hydrographic films and hydro dipping machines. With over 1,000 satisfied global clients, we specialize in high-volume custom film production and turnkey dipping solutions.
Our clients include global brands and respected partners like TWN Industries (USA). Whether you're starting small or scaling large, we provide the technology, materials, and support to fuel your hydrographic success.
Read Also: A Comprehensive Guide to Start a Hydro Dipping Business
Stay Connected
Want to stay ahead in the world of hydrographics? Join our growing community online.
Follow YHT for the latest updates, tutorials, and hydro dipping inspiration:
- YHT YouTube
- YHT Facebook
- YHT Instagram
- YHT Twitter
- YHT Pinterest